Last updated October 31, 2026
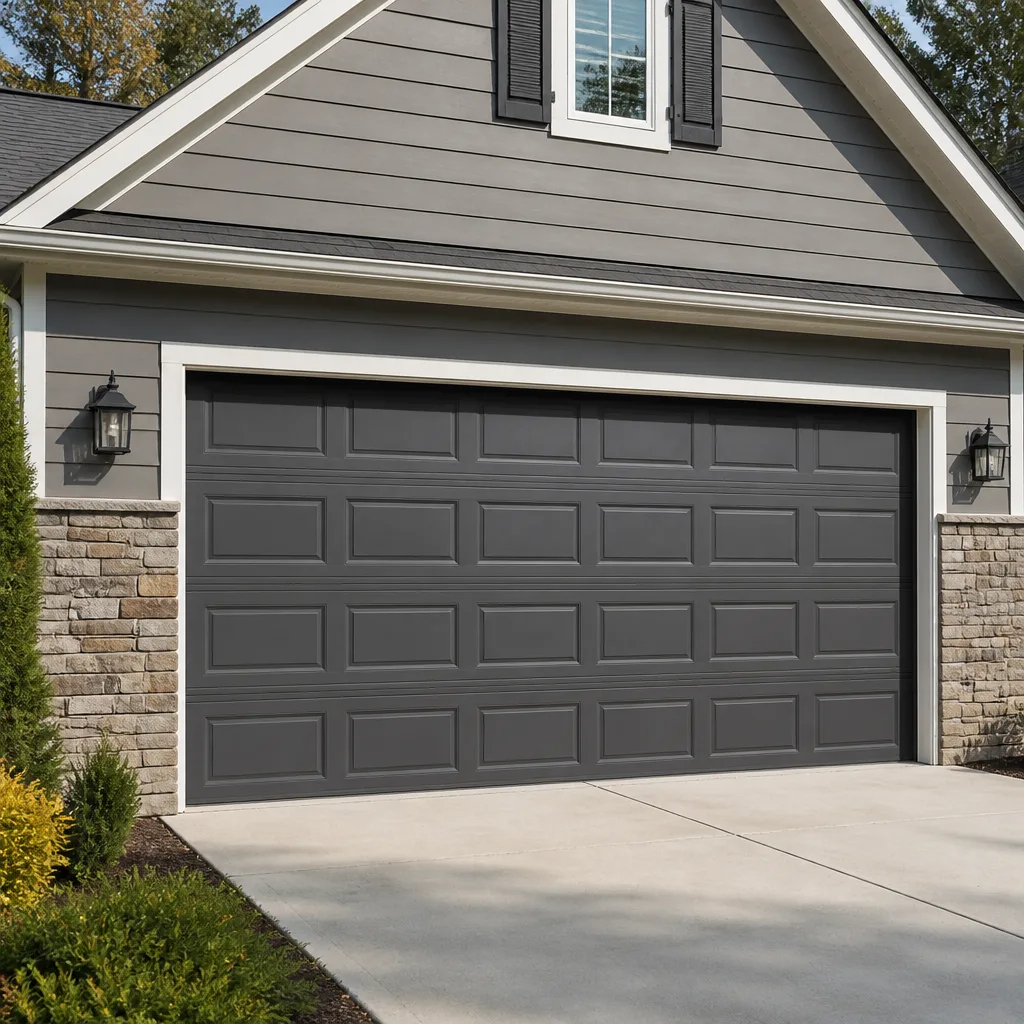 Raised-panel steel
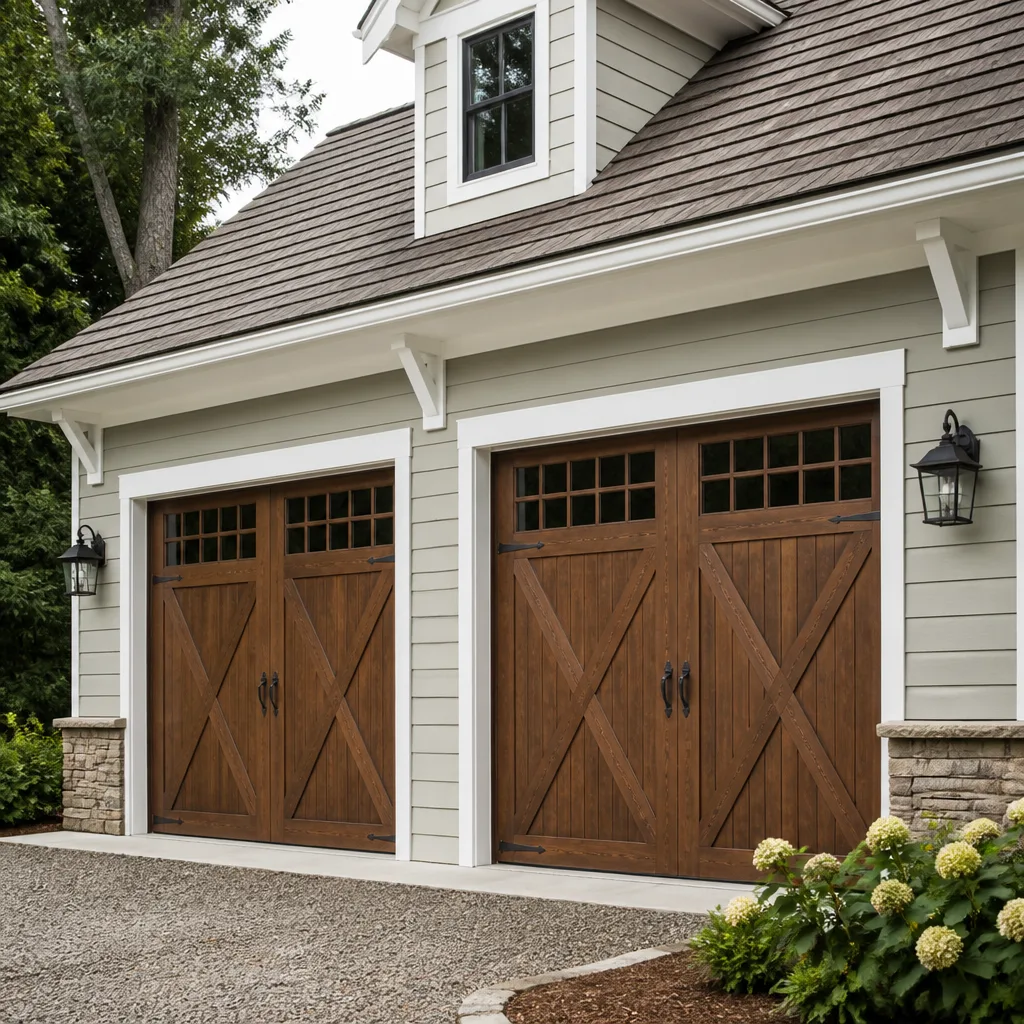 Carriage house
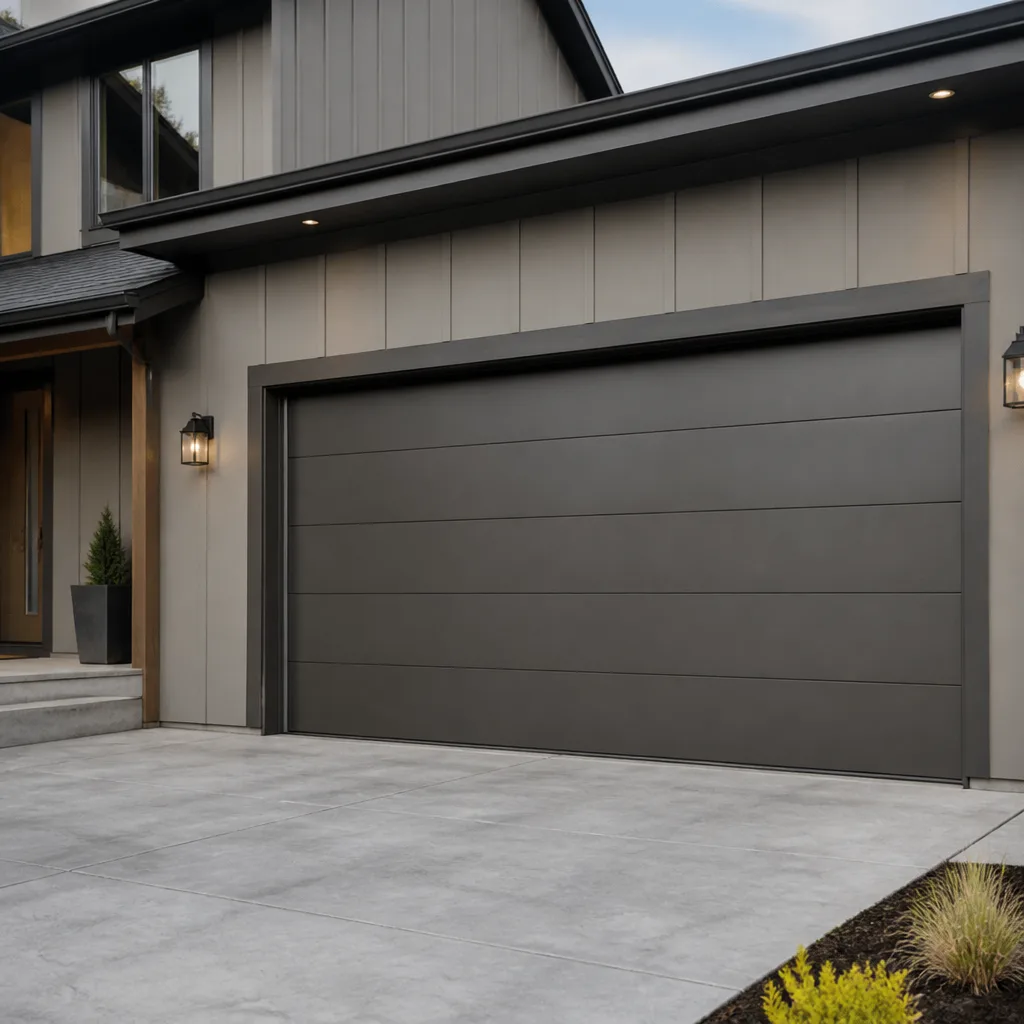 Modern flush
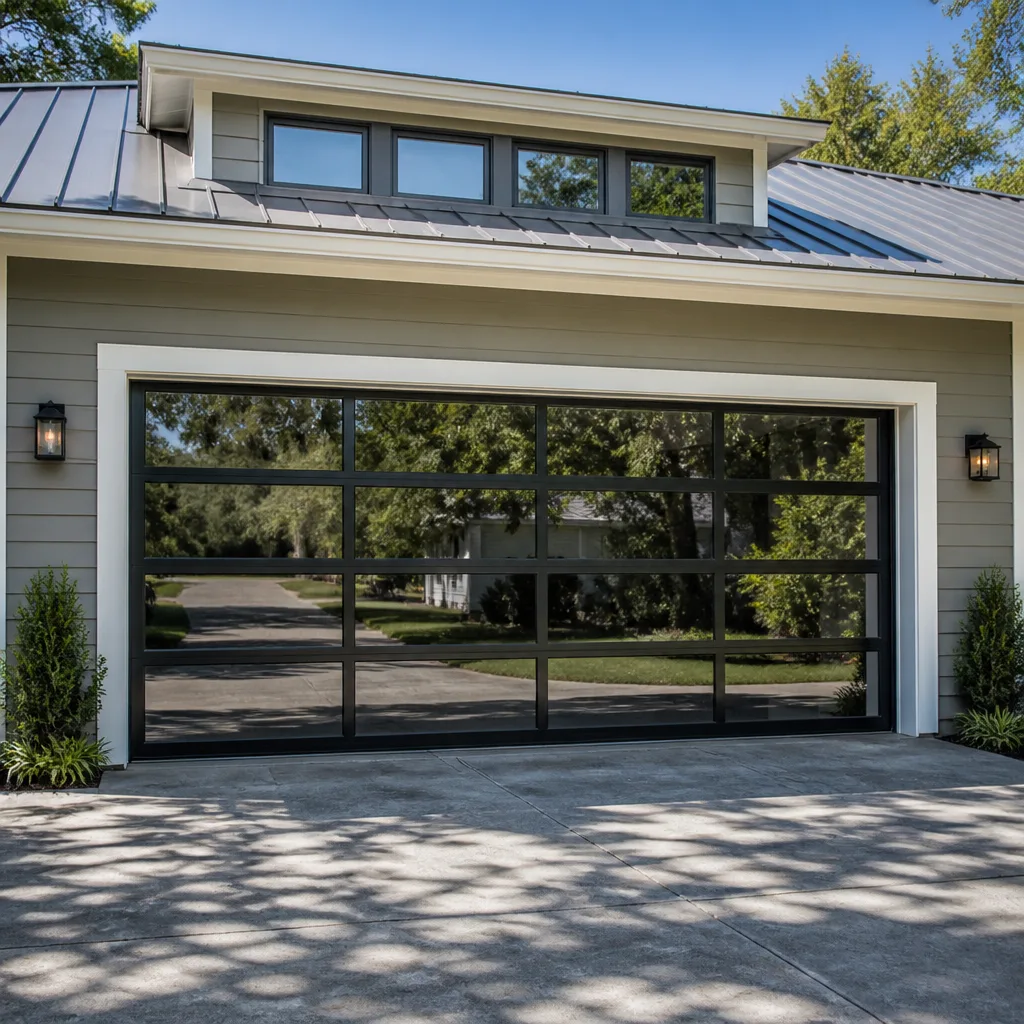 Full-view glass
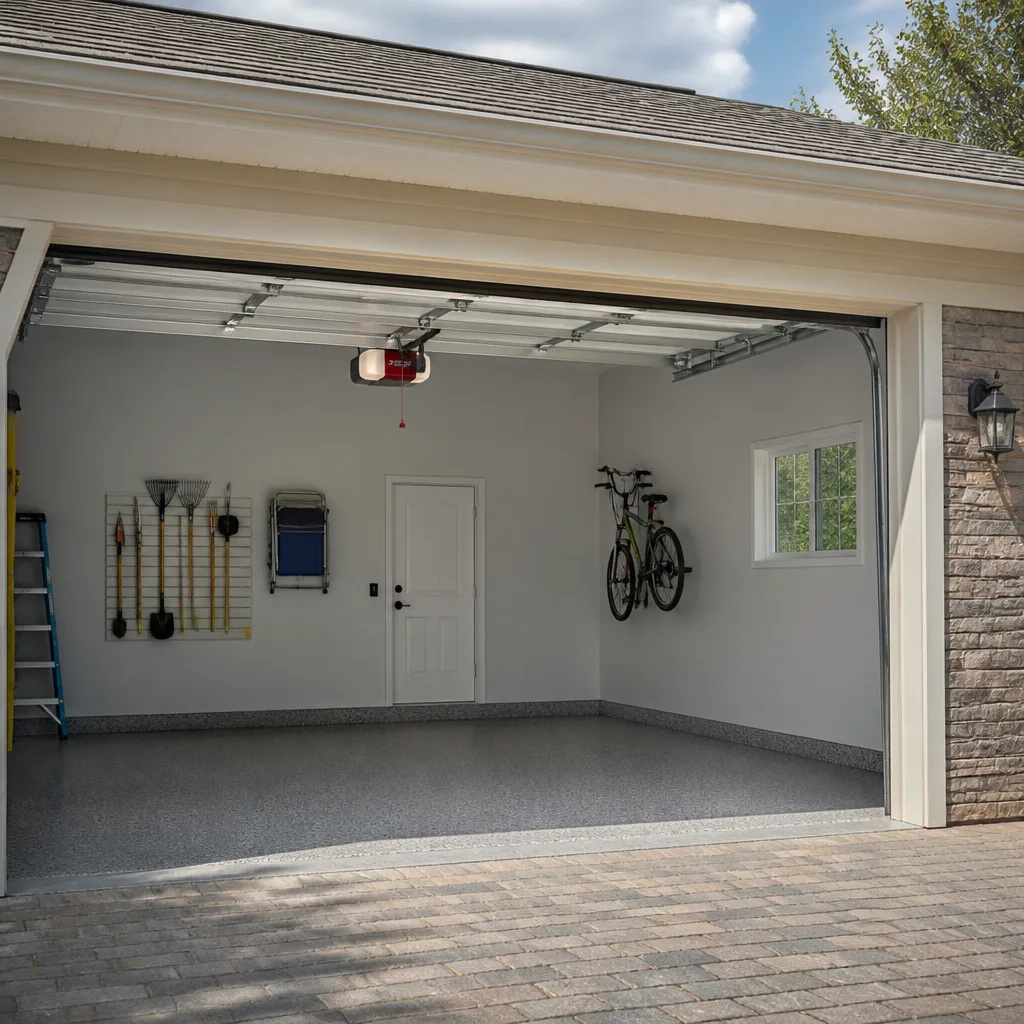 LiftMaster openers
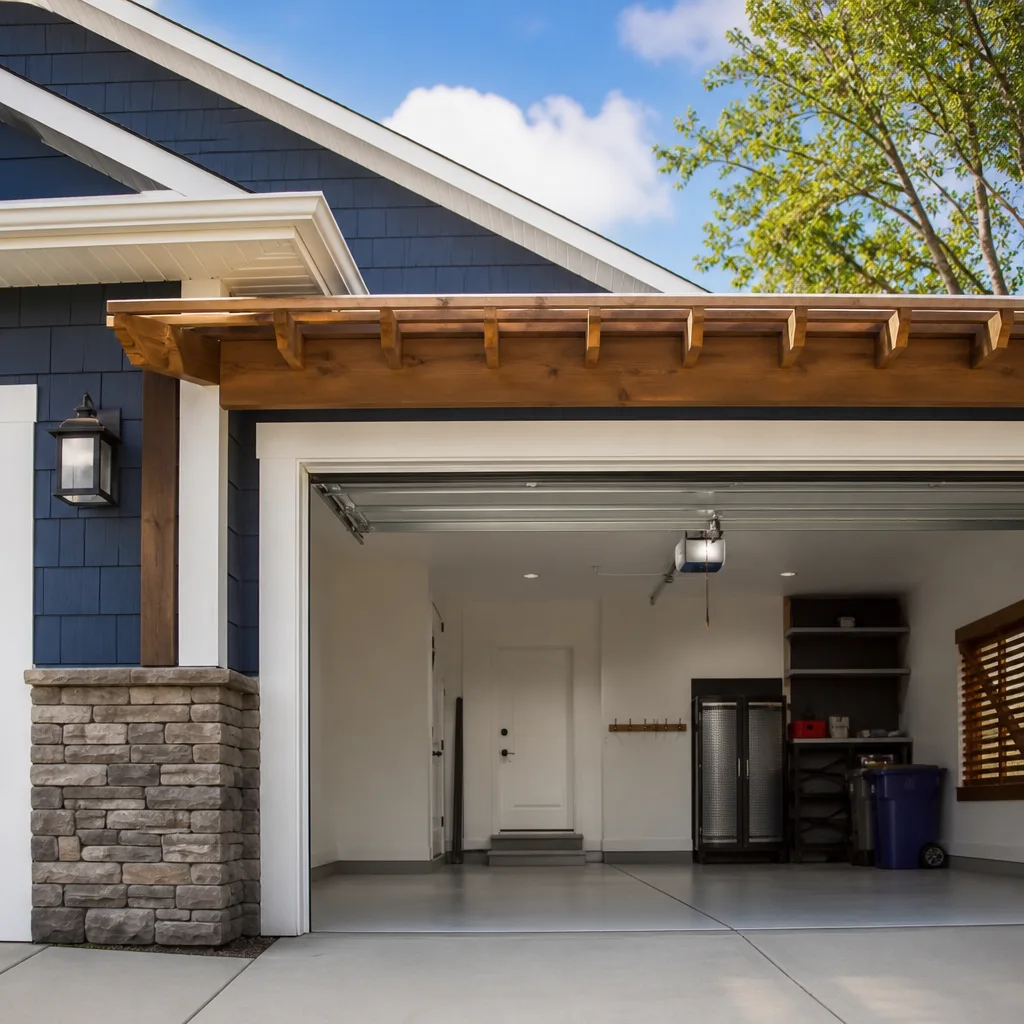 Chamberlain openers
Full 25-point door and opener safety check with every visit - springs, cables, rollers, tracks, and your LiftMaster or Chamberlain opener included
You get a price before we start. It does not change when the truck arrives.
Get your free estimateGarage Door Repair Troubleshooting: Common Problems and How to Fix Them
Here’s a counterintuitive fact that surprises most Huntington Beach homeowners: the majority of garage door service calls we respond to involve a problem the homeowner could have accurately diagnosed in under five minutes with the right decision framework. Not fixed, necessarily – but diagnosed. The gap isn’t knowledge. It’s that most troubleshooting guides list symptoms in isolation, never teaching the branching logic a technician actually runs through when they arrive at your driveway. This guide closes that gap. You’ll learn how to distinguish a hardware failure from an operator failure from a wiring failure before you touch a single component, and you’ll know which problems are safe to address yourself and which ones genuinely require a trained hand.
Styles & brands we work with
Quick Answer
Garage door not working? Start with the manual release test (pull the red cord, lift the door by hand). If the door is heavy or won’t stay up, you have a spring or cable problem – do not attempt to fix it yourself, and call a professional. If the door moves freely by hand but won’t operate with the opener, the problem is electrical or operator-related, and the blinking LED light on your opener unit is your first diagnostic clue.
Table of Contents
- The Three-System Framework: Door, Opener, and Wiring
- The Three Homeowner Tests That Reveal 80% of Problems
- Branch 1: Door Won’t Move at All
- Branch 2: Door Moves But Reverses Before Closing
- Branch 3: Door Is Loud, Grinding, or Rattling
- Branch 4: Door Is Off-Track or Crooked
- Reading Blinking LED Codes on LiftMaster, Chamberlain, and Genie Openers
- Common Mistakes to Avoid
- When to Call a Professional
- Frequently Asked Questions
- The Bottom Line
The Three-System Framework: Door, Opener, and Wiring
Every garage door problem falls into one of three categories, and knowing which one you’re dealing with changes everything about how you approach the fix. Here’s the framework technicians use, and it’s the same one you’ll apply throughout this guide.
The door system is everything mechanical: the panels, rollers, hinges, tracks, cables, and the torsion or extension springs that do the actual lifting. These components wear out. Springs have a finite cycle life. Cables fray. Rollers develop flat spots. In coastal Huntington Beach, salt air accelerates corrosion on metal hardware faster than inland neighborhoods, which means mechanical wear often shows up earlier than you’d expect.
The opener system is the motorized unit mounted on the ceiling, plus the rail, the traveler, and the belt, chain, or screw drive that moves it. Openers fail electronically (logic boards, capacitors, sensors) and mechanically (stripped gears on older Craftsman or Chain-drive models, worn belts). Opener problems often masquerade as door problems because the symptom – door won’t move – is identical.
The wiring system is everything that carries signal and power: the wall control, the photo-eye safety sensors, the wiring runs themselves, and in newer units, the wireless receivers and circuit boards. Wiring problems are the most commonly misdiagnosed category because they can produce symptoms that look mechanical, like a door that reverses randomly or opens only sometimes.
Here’s the decision logic: if the door behaves the same way every time, suspect mechanical or opener issues. If the behavior is intermittent – works sometimes, fails others – wiring and logic board problems move to the top of the list. We’ll use this framework in every branch below.
The Three Homeowner Tests That Reveal 80% of Problems
Before you do anything else, run these three tests. They take under five minutes total and will tell you which of the three systems is failing. Every technician we know runs a version of these, and so do the best troubleshooting guides, though they rarely name them clearly.
Test 1: The Manual Release Test
This is the single most diagnostic thing you can do. The manual release cord – usually a red rope hanging from the opener rail – disconnects the opener from the door so you can operate the door by hand. Pull it down and toward the door to release. Then lift the door manually.
- If the door lifts smoothly and stays open on its own around the halfway point, the door system is fundamentally sound. Your problem is almost certainly opener or wiring related.
- If the door feels heavy, won’t lift, or crashes down when you let go, you have a spring problem. Stop testing immediately – do not try to force it – because a broken torsion spring under tension is dangerous to work around.
- If the door lifts but is jerky, catches, or binds at certain points, you have a track or roller issue.
Important: when you’re done, pull the release cord toward the opener and run the opener once so it re-engages. You’ll hear a click when the traveler connects.
Test 2: The Balance Test
With the door disconnected from the opener (release cord still pulled), lift the door by hand to about waist height and let go. A properly balanced door stays put. If it drifts upward, the springs are over-tensioned. If it falls, they’re under-tensioned or failing. A door that falls fast with the release pulled is a strong indicator of a broken spring on one side, and we see this regularly in Huntington Beach homes where the original springs are ten or more years old and the coastal humidity has done its work on the coil surface.
Test 3: The Force Test
This one tests the opener’s safety reverse mechanism without involving your body. Place a 2×4 or a roll of paper towels flat on the ground directly under the closing door’s path. Press the close button. The door should reverse within a second or two of contacting the object. If it doesn’t, the opener’s force setting is too high or the safety sensor isn’t functioning, and that’s an urgent adjustment issue because it means the door won’t reverse for a child or pet either. Newer LiftMaster and Chamberlain units with motion-sensing close features may vary, but the force reverse must still work. If your door doesn’t reverse on contact, stop using the opener until it’s corrected.
These three tests – manual release, balance, and force – will identify whether you’re dealing with a door problem, an opener problem, or a safety adjustment problem before you touch a screwdriver. For more on our approach to diagnosing and repairing these systems, see the Driveway Garage Door Repair home service overview.
Branch 1: Door Won’t Move at All
When the door won’t budge with the opener, don’t assume the opener is dead. Run the manual release test first. If the door won’t open by hand either, you have a mechanical lock-up: broken spring, frozen roller, or a jammed track. If the door opens freely by hand, the problem is in the opener or wiring, and here’s how to narrow it further.
Check the power source. It sounds obvious, but a tripped GFCI outlet or a popped breaker is the resolved cause behind a surprising number of no-power calls. Opener outlets are often on the same circuit as other garage outlets or even exterior outlets, so test the outlet with a lamp before assuming the opener died. In Huntington Beach, homes near the water with older panels sometimes have GFCI trips during damp winter mornings, and the opener won’t reset until the outlet does.
Check the wall control. If the remote doesn’t work but the wall button does, the issue is in the wireless receiver, the remote battery, or the opener’s antenna. Try the wall button first. If the wall button also does nothing, and the opener has power, look at the LED on the opener body. A solid light usually means power and standby. A blinking light pattern is a diagnostic code – we’ll decode those below.
Listen for the motor. When you press the button, does the motor hum but nothing moves? That’s usually a stripped gear (especially common on older Craftsman chain-drive units) or a traveler stuck on the rail. If there’s no sound at all, the opener’s logic board or transformer may have failed, or the thermal overload has tripped. Thermal overloads reset themselves after 10 to 15 minutes, so if the door failed after heavy use and works again later, that’s your clue.
Check the release cord. If the release cord was pulled and never fully re-engaged, the traveler will run up and down the rail without connecting to the door at all. The door stays shut while the opener runs, or makes noise without moving anything. This one is common in households where someone pulled the red cord during a power outage and didn’t know how to re-latch it.
If you’ve run all of these checks and the opener still won’t respond, the logic board is the prime suspect, and that’s an opener repair, not a door repair. We service opener failures from all major brands, and opener repair is a named specialty at Driveway Garage Door Repair because it’s one of the most common and disruptive failures a homeowner can face. If you’d like a professional diagnostic, our Garage Door Opener Repair in Huntington Beach service covers exactly this.
Branch 2: Door Moves But Reverses Before Closing
This is the symptom that inspired the opening of this guide, and it’s the one where acting on the first guess causes the most damage. A door that reverses before it reaches the ground can be caused by at least four distinct issues:
- Broken torsion spring. If one spring breaks, the opener is suddenly lifting the full weight of an unbalanced door. The opener’s force sensor detects the strain and reverses. Adjusting limit screws won’t fix this, and the added strain will eventually burn out the opener motor. This is a mechanical failure masquerading as an electrical symptom – one of the most common misdiagnoses we see in Huntington Beach, where salt-laden air corrodes spring coils and shortens their cycle life.
- Misaligned photo-eye sensors. The two sensors near the floor on either side of the door must align with each other. If a broom knocks one out of alignment, the opener thinks something is in the way when nothing is, and reverses. Check the small LED on each sensor – both should be lit steadily. If one is off or flickering, that’s your problem.
- Force setting too low. If the opener’s down force is set too low, the door’s normal resistance as it travels causes the opener to reverse as if it hit an obstruction. This is a limit and force adjustment issue, and it’s genuinely the case where the classic “adjust the screws” advice applies.
- Failing logic board. When the board starts to go, it misreads sensor inputs and sends reverse signals randomly. This is the intermittent one – sometimes it closes fine, sometimes it reverses three times in a row. No mechanical fix will address this.
Here’s the branching logic that resolves this in two minutes: pull the manual release and lift the door by hand. Is it heavy? You have a spring problem – call a professional. Does it open smoothly? Then re-engage the opener and check the sensor LEDs. Are both lit? If yes, suspect the force setting or the logic board. If one sensor is dark misaligned, straighten it and try again. If sensors are aligned and lit, and the door still reverses, the logic board is failing or the force setting needs recalibration. At that point, an opener specialist is the right call. For a full walkthrough of how we handle these exact scenarios, see Garage Door Repair in Huntington Beach.
Branch 3: Door Is Loud, Grinding, or Rattling
A garage door makes noise when something is working harder than it should. The type of noise tells you what’s failing, and the location of the noise – during the travel cycle or when stationary – narrows it further.
Squealing or grinding during travel usually points to the rollers. Nylon rollers wear smooth and rattle; steel rollers without lubrication grind. If the noise gets worse as the door moves around the curved track sections, the rollers are binding in the track and may be wearing the track itself. Roller replacement is one of the more common repairs we do in Huntington Beach, where spring temperatures swings cause metal tracks to expand and contract, gradually changing tolerances.
Rattling during travel often means loose hardware – hinges, track bolts, or the opener rail. A door with loose bolts will rattle rhythmically as it moves. Tightening everything is a reasonable homeowner task with a socket wrench, and if the rattle continues after tightening, suspect worn hinge barrels or roller stems.
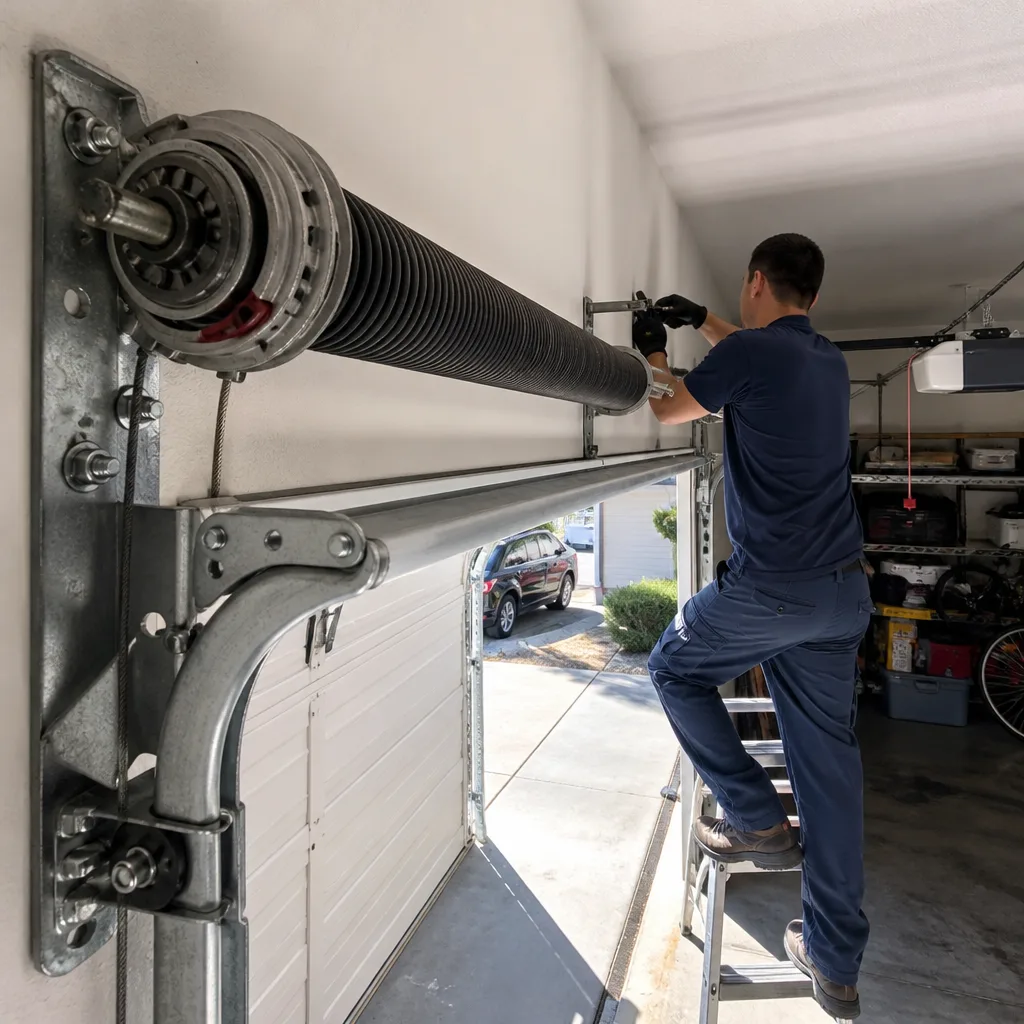
Loud popping or banging when the door moves is the most serious noise on this list. A torsion spring that’s about to break sometimes makes a distinct pop just before failure. If you hear a loud bang from above the closed door – not during travel, but while the door is stationary – that’s a spring breaking while under tension. It sounds like a firecracker or a dropped weight. If your door made that sound and now won’t lift, you need a spring replacement. Do not attempt to operate the door manually or with the opener. A broken torsion spring under residual tension can release violently.
Opener-specific noise. A chain-drive opener with a stretched chain will chatter and slap the rail. A screw-drive opener that’s dry will whine like a power drill. Belt drives are the quietest, and when they get loud, the belt is typically fraying or the sprocket is worn. Genie and Raynor screw-drive units in particular need periodic rail lubrication, and a dry rail produces a sound many homeowners mistake for a motor failure. If the noise is coming from the opener unit itself and the door is balanced, the opener is the issue. If the noise comes from the door area and the opener is newer, it’s usually mechanical.
We’ve seen a pattern in Huntington Beach: homeowners assume a loud door is “just old” and live with it until a roller seizes and bends a track or tears a cable. A loud door is a warning before it’s a breakdown, and addressing the noise earlier keeps the repair smaller.
Branch 4: Door Is Off-Track or Crooked
An off-track door is the one scenario in this guide where you should not attempt to fix it yourself, even if you’re handy. The track is what guides the door under spring tension, and a door that’s partially off-track can shift suddenly and violently if you try to muscle it back into place. But you can still run a full diagnostic to understand what happened and what the repair involves.
A door that’s crooked when opening – one side higher than the other – usually means a broken spring on one side or a broken cable. The unbalanced panel then binds on one track, which is what jams it. If you see a loose cable hanging from the drum above the door, that’s your confirmation. The cable has slipped or snapped, and the door cannot be safely moved by hand or opener.
A door that has visibly left the track – the roller is out of the track channel – can happen for a few reasons: a hard impact (car bumper, usually), a broken cable that let the door fall unevenly, or a roller that failed and popped out. If the door is still partially hanging, get everyone and everything out from under it, and don’t attempt to close it.
What you can do safely: visually inspect both cables for fraying or breakage, check each roller to see if one is out of its track or broken at the stem, and look for any bent track section – often the vertical track where it curves toward the ceiling. Note what you find so you can describe the situation accurately over the phone. Don’t use the opener. Don’t pull the release cord, especially if the door is partially open and under tension from a single intact spring. A one-sided spring load can twist the door and break the remaining cable or spring.
Off-track repair involves safely releasing the remaining spring tension, realigning or replacing the damaged track and rollers, resetting the cables, and rebalancing the door. It’s a job for a trained technician with the right tools. Way Dalton and Amarr doors have some track geometry differences that affect how they’re reset, and a technician who knows the difference saves time and avoids damaging the panel. That brand-specific familiarity is exactly why we service the full range of equipment homeowners actually own, rather than specializing in one brand and forcing every other system to fit.
Reading Blinking LED Codes on LiftMaster, Chamberlain, and Genie Openers
Your opener is trying to talk to you, and the blinking light on the unit is its diagnostic language. Here’s how to read the codes on the most common systems. In every case, look at the opener body (not the wall remote) and count the blinks between pauses.
LiftMaster and Chamberlain
Most LiftMaster and Chamberlain openers made since the mid-1990s use the same blink code system. The light bulb or LED will blink in a repeating pattern. Count the blinks before the pause.
- 1 blink: The door sensor wiring is open or shorted. Check that both sensor wires are connected at the opener and that the wires haven’t been damaged (common where rodents have chewed through wiring in garage attics).
- 2 blinks: The safety sensors are misaligned or blocked. Align them so both LEDs are solid, not flickering.
- 3 blinks: The door control wiring is shorted or the wall button is stuck. Unplug the wall control wires from the opener and try the remote. If the door works, the fault is in the wall wiring or button.
- 4 blinks: The safety sensors are misaligned or obstructed, or the sensor lenses are dirty. Clean the lenses and realign. This and 2 blinks are the most common codes we see.
- 5 blinks: The motor overheated. The thermal protection has tripped. Let the opener cool for 15 minutes, then test. If it happens repeatedly, the door balance or force setting is the underlying cause, not the motor itself.
- 6 blinks: The logic board needs attention. This usually indicates a circuit board or internal component failure, and it’s an opener replacement or board-level repair scenario.
Genie
Genie uses a different system: a red LED that blinks a two-digit number. Count the first set of blinks, wait for the pause, then count the second set.
- Two blinks, pause, two blinks: The safety sensors are not communicating. Clean the lenses and check alignment.
- Three blinks, pause, two blinks: The travel limits need to be reset. This is a programming adjustment, not a mechanical failure.
- Four blinks, pause, three blinks: The force setting is too high or the door is unbalanced. Run the balance test to confirm.
- Any other code: Note the exact pattern before you call anyone, because the technician can use it to diagnose quickly. The fewer times you run a failing opener before the service call, the better, because cycling a unit with a failing board can damage other components.
These codes are diagnostic shortcuts, not final answers. A 5-blink overheat on a LiftMaster may be caused by a door that’s out of balance, which is a mechanical problem making the opener work itself to death. That’s another example of a problem that looks electrical but is actually mechanical. Trace the code to its root cause before you replace anything.
Common Mistakes to Avoid
- Adjusting the limit screws or force dials before identifying the actual problem. If the door has a broken spring or a failing board, changing those settings makes the other problems worse, not better. The limit and force adjustments are for fine-tuning a healthy system, not for compensating for a broken one.
- Testing an opener repeatedly while the door is under manual or mechanical strain. Every cycle you run on a strained opener risks burning out the motor or stripping the gear. One test to confirm the symptom is enough; then start the diagnosis instead.
- Lubricating the track. The track should stay dry. Lubricant on the track collects dirt and grime, which makes the rollers bind harder over time. Lubricate the rollers, hinges, and springs, not the channel itself. In Huntington Beach, where salt and sand are in the coastal air, greasy tracks become abrasive by mid-summer.
- Pulling the emergency release while the door is open. The release is designed to be pulled when the door is closed, so the opener can be re-engaged later by running it. If you pull it while the door is open, the door can slam down, especially if the springs are weak or broken.
- Replacing the opener first. When an opener fails, homeowners sometimes assume the whole unit needs replacing before they’ve confirmed the cause. We’ve repaired countless openers that needed only a gear kit, a capacitor, or a sensor alignment. And on the flip side, we’ve replaced openers that were genuinely dead after years of running against an unbalanced door – which is what killed them. Diagnose first, then decide.
- Doing spring or cable work without the proper tools. Torsion springs are under hundreds of pounds of rotational force. The winding rods that secure them and the exact sequence for releasing and resetting that tension are not intuitive. One slip with improvised tools causes a serious injury. When the spring is the problem, your job is to identify it and call a professional – not to loosen the set screws yourself.
- Ignoring a reversal that “only happens sometimes.” Intermittent reversals are often the earliest sign of a failing logic board or a sensor that’s misaligning from vibration. The intermittent phase lasts weeks or months, and catching it then means a smaller repair. Ignoring it usually leads to a door that refuses to close entirely, often at the worst possible time.
When to Call a Professional
Some problems in this guide are safely addressed by a homeowner: cleaning and aligning sensors, tightening loose bolts, lubricating rollers, checking an outlet, or reading a diagnostic code. Others are not. Call a professional when you identify a broken spring, a snapped or hanging cable, an off-track door, a door that’s heavy or slams during the manual release test, any grinding noise that persists after roller replacement, or a logic board failure indicated by a persistent 6-blink code or a Genie two-digit code that isn’t on the list above.
If you’re in the Huntington Beach area and you’ve identified a problem but you want an expert to confirm the diagnosis and make the repair, Garage Door Repair in Huntington Beach covers mechanical and track work, while Garage Door Opener Repair in Huntington Beach focuses on operator and wiring failures. We also handle full door replacement when the diagnosis reveals the door is beyond practical repair – more on that at Garage Door Installation in Huntington Beach. Driveway Garage Door Repair offers free estimates in Huntington Beach; call (866) 253-0630 and describe your symptoms, and we’ll give you an honest read before anyone walks through your door.
Frequently Asked Questions
Your garage door reverses before closing because the opener is detecting resistance or obstruction – either from a broken torsion spring making the door too heavy, misaligned safety sensors falsely signaling an obstruction, a force setting that’s too low, or a failing logic board sending false reverse signals. Pull the manual release and test the door by hand to separate mechanical causes from sensor and board issues, then check the sensor LEDs. If both are solid and the door still reverses, the force setting or board is the problem, and it’s time to call a professional.
Garage door repair in Huntington Beach typically ranges from $125 to $350 for the most common fixes – roller replacement, sensor realignment, hinge and bolt tightening, and opener adjustments – while spring replacement usually falls between $250 and $450 per spring depending on size and cycle rating, and full opener replacement starts around $350 and up. The price depends on the part, the brand, and the age of the system. Call (866) 253-0630 for an exact quote after we diagnose the problem; estimates are free.
Most garage door repairs can be completed the same day, because the work is mechanical and uses parts we carry. Spring replacements, roller replacements, sensor issues, and most opener repairs don’t require ordering parts or waiting for delivery. Off-track doors and full panel replacements may take longer, depending on the extent of the damage and whether a specific Amarr or Wayne Dalton panel needs to be matched from the manufacturer. Call us with your symptoms and we’ll tell you honestly whether it’s a same-day fix or a scheduled repair.
The price is quoted and agreed before any work starts. When we diagnose a door, we show you what’s wrong, what it costs, and what the options are – then we do the work at the quoted price. If we find something else during the repair that changes the scope, we stop and tell you before adding anything. No surprise invoices after the fact.
We carry the most common parts on the truck: springs in multiple sizes, rollers, hinges, cables, sensors, opener gears, and capacitors. Brand-matched parts for LiftMaster, Chamberlain, Genie, Clopay, Amarr, Wayne Dalton, Craftsman, and Raynor systems are stocked based on what we service most in Huntington Beach, which means the repair often happens in one visit rather than two.
A blinking opener light is a diagnostic code telling you where the fault is. One blink on a LiftMaster or Chamberlain typically means a sensor wiring problem; two blinks mean the safety sensors are misaligned; five blinks mean the motor overheated. Genie units blink two-digit codes instead. Count the blinks and match them to the chart in this guide, or call us with the blink pattern and we’ll interpret it over the phone. Often the door just needs sensor realignment, which takes minutes.
The Bottom Line
Garage door troubleshooting is a decision process, not a guess. The three-system framework – door, opener, wiring – plus the three tests – manual release, balance, and force – will identify the root cause of most problems before you touch a single adjustment. When the door is heavy or off-track, the spring or cable is the fault and the repair belongs to a professional. When the door moves freely by hand but the opener fails, read the LED code and trace it. The most expensive mistakes happen when a homeowner adjusts the wrong component on the wrong cause. Understand the logic first, confirm the diagnosis, and then decide what to do.
Written by the team at Driveway Garage Door Repair, serving Huntington Beach since 2015.
See the difference
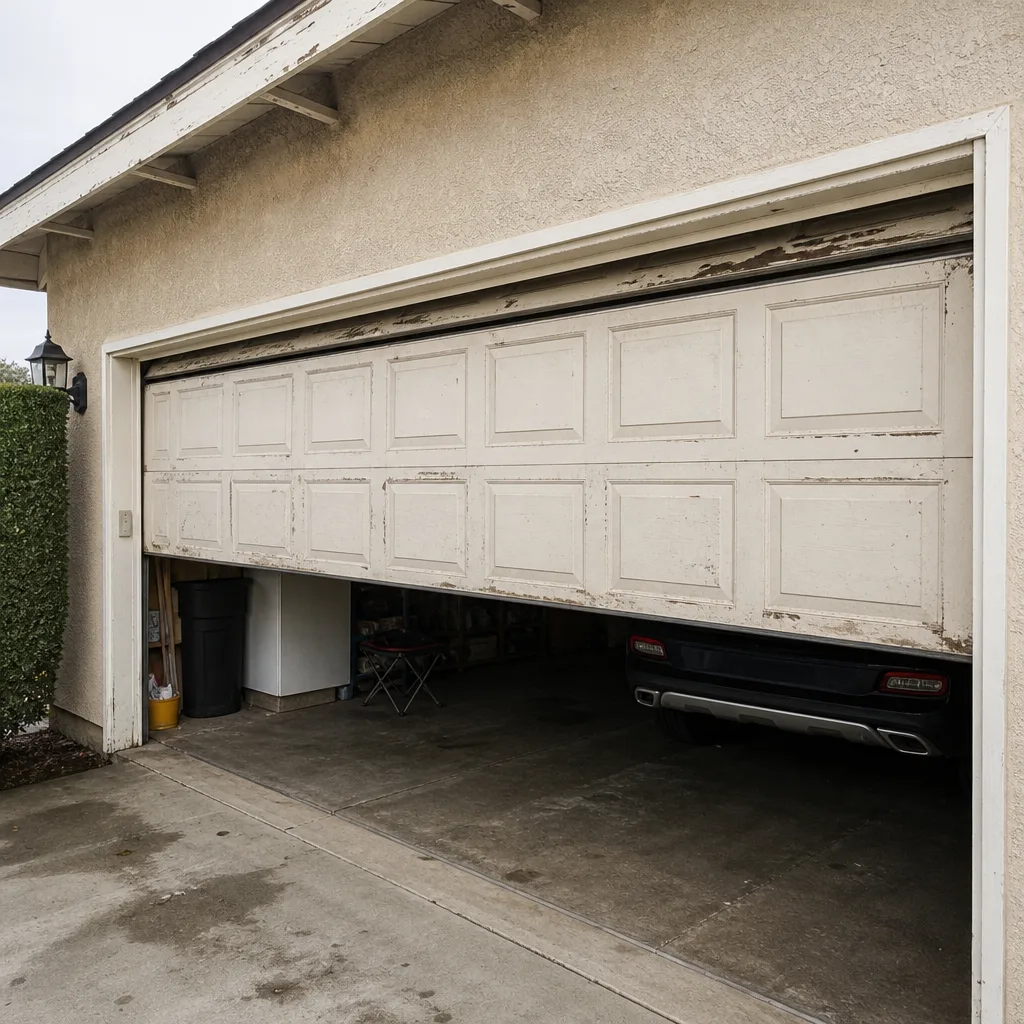 Before
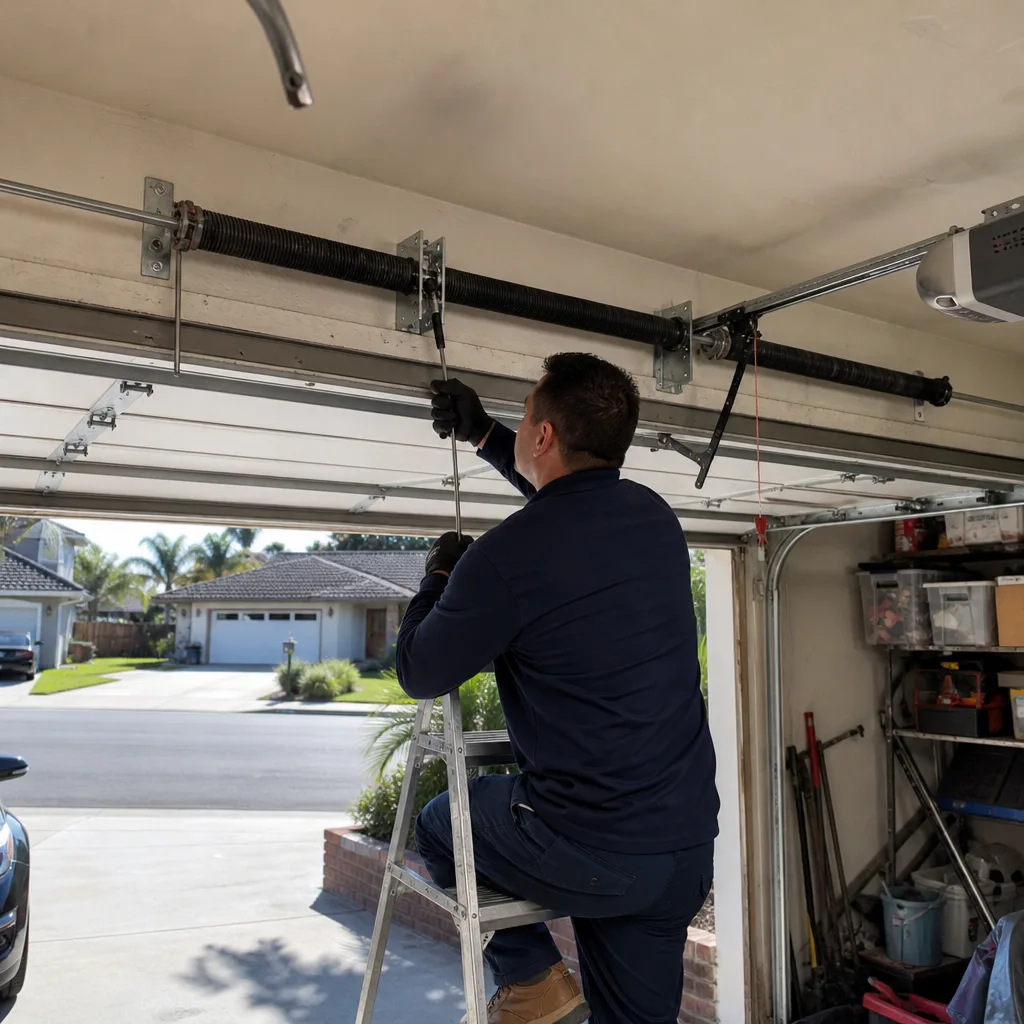 After
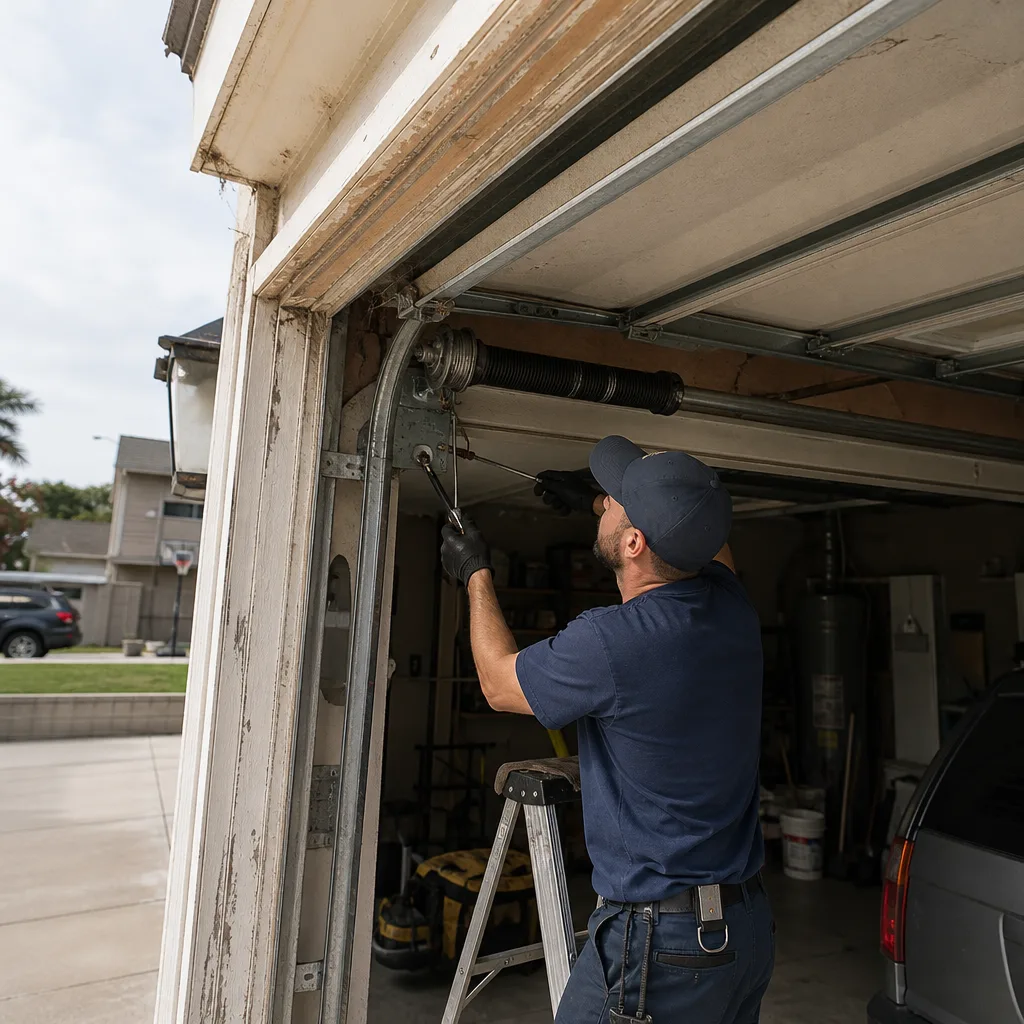 Before
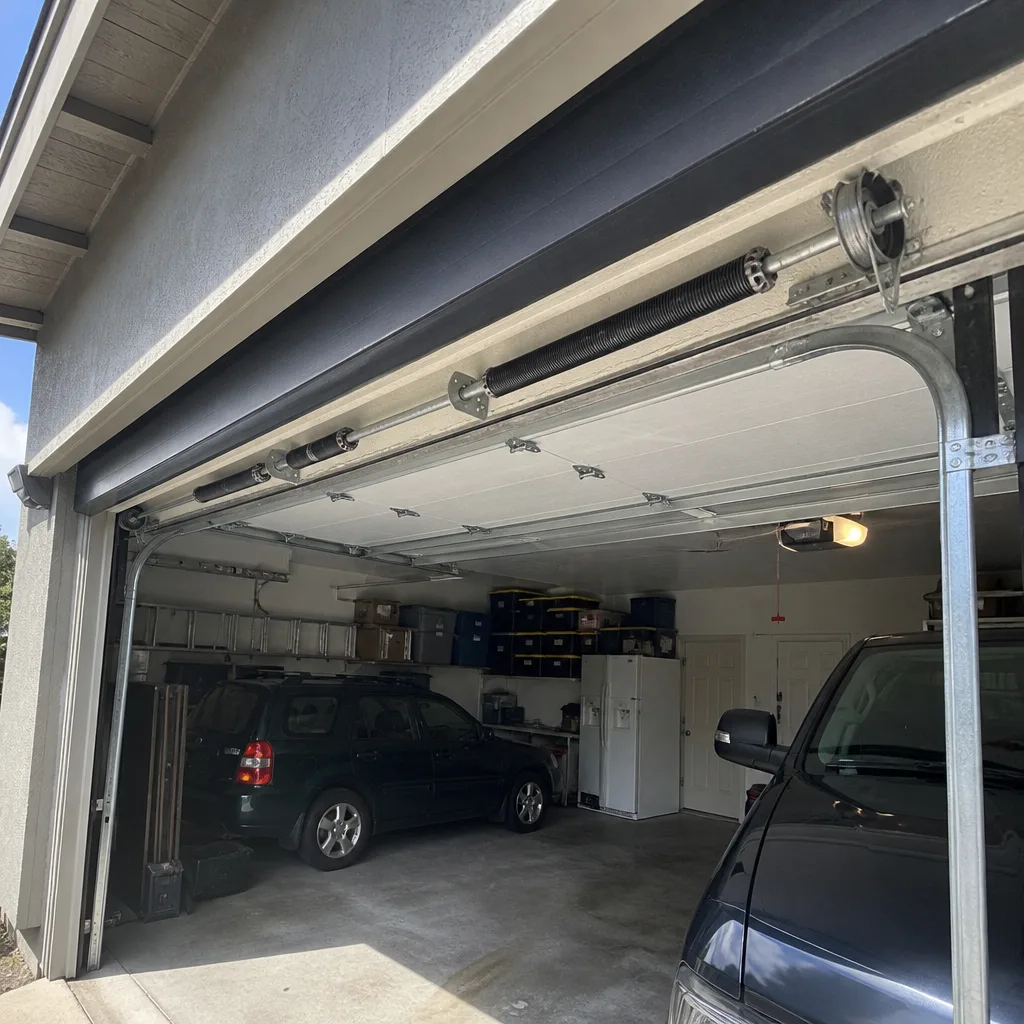 After
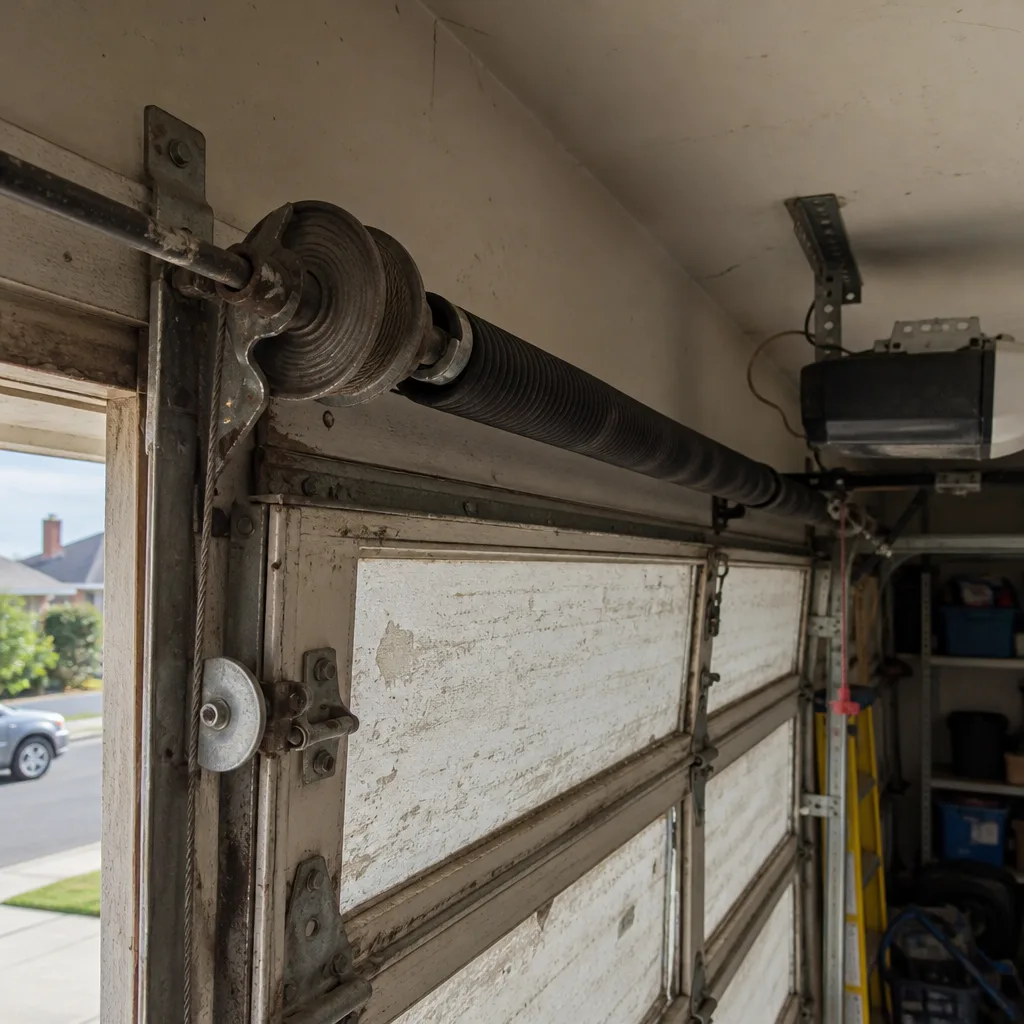 Before
 After